

How to Optimize Your Images for Web (Without Sacrificing Quality)
If you have a professionally designed website, chances are you'll eventually need to add or replace images yourself. Maybe you've had a new project photographed and want to add it to your portfolio, or you have a fresh headshot you'd like to feature on your About page.
Before you upload those beautiful new images, there's one important step you shouldn't skip: optimize them for the web.
Large, unoptimized images are often one of the biggest contributors to page size, which can slow down your website. And while site speed isn't the only factor Google considers when ranking a website, a fast, user-friendly site is an important part of a good page experience. Google specifically recommends optimizing images to balance quality and speed.
In other words: your images should look great without making your visitors wait for them to load.
Step 1: Give your images useful filenames
Before uploading your images, take a sec to rename them.
A file named:
image-6021.jpg
doesn't tell Google—or you—anything about what's actually in the photo.
Instead, use a short, descriptive filename:
traditional-kitchen-remodel-seattle-01.jpg
Google recommends using filenames that are short and descriptive because the filename can provide clues about the subject of an image.
I recommend:
Using lowercase letters
Separating words with dashes
Describing what's actually in the image
Including a relevant keyword or location when it makes sense
Keeping the filename relatively short
Avoiding unnecessary numbers, symbols, or generic names like IMG_1234.jpg
→ For example, if you're a Seattle interior designer, don't rename a kitchen photo:
seattle-interior-designer-kitchen-design-remodel-luxury-interiors-custom-kitchen-designer.jpg
That's too much.
→ Instead:
traditional-kitchen-remodel-seattle-01.jpg
is clear, descriptive, and gives Google useful context without trying too hard.
The goal is to describe the image, not stuff it with keywords.
Step 2: Resize and optimize your images
Before uploading an image to your website, you'll want to reduce its dimensions and file size so your browser isn't trying to load a massive, print-quality photograph every time someone visits your site.
As a general rule of thumb, I aim to keep most website images around 200 KB. That's not a hard-and-fast rule—some large or particularly important images may need to be bigger—but having 200 KB in mind is a helpful target when you're optimizing your files.
My favorite tool: PixResize
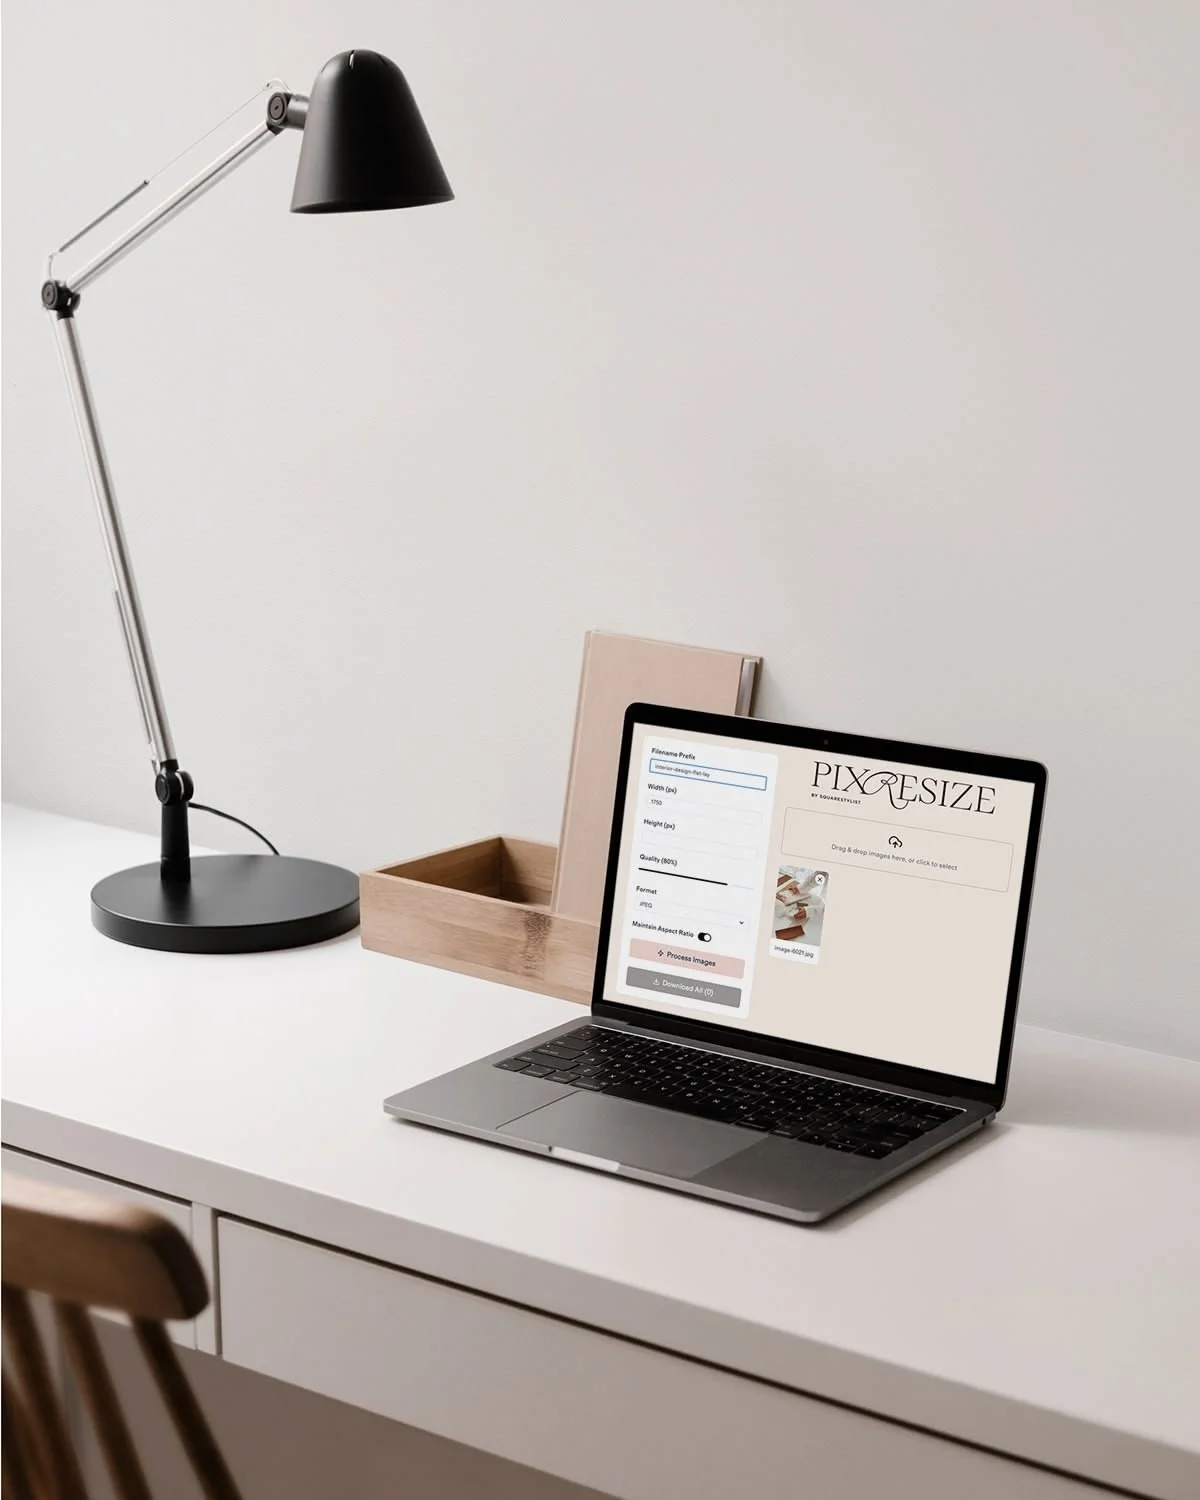
For bulk image optimization, I love PixResize. It's free, works right in your browser, and was specifically created for resizing and optimizing images for websites. PixResize's creator says that image processing happens in your browser, so your images aren't uploaded to a server (an added security bonus - yay!).
You can drag in a whole batch of images, set your filename prefix, dimensions, and quality, and process them all at once. It's much faster than resizing and saving every image individually.
For most portfolio images, these are the PixResize settings I use:
Filename Prefix: Your descriptive filename (no extra dash necessary)
Width: 1750px
Height: Leave blank
Quality: 80%
Format: JPEG
Maintain aspect ratio: Checked
You can adjust the quality slightly higher or lower depending on the image. The goal is to find the sweet spot where the file is significantly smaller, but the image still looks crisp and beautiful on screen.
For particularly large or important images—such as a full-width slideshow or hero image on your homepage—I recommend increasing the width to 2500px. These images may also end up larger than my ~200 KB target, and that's okay. Not every image needs to fit neatly under the same number.
Within seconds, PixResize will resize, optimize, and rename your files for you. Huzzah!
One important note: Keep your original, high-resolution files. Your optimized web images are not replacements for your originals. Store those safely somewhere so you have them if you ever need a larger file for print or another purpose.
Step 3: Don't forget your alt text
Your filename is only one small piece of image SEO.
When you upload an image to your website, you should also add descriptive alt text where appropriate. Alt text helps search engines understand the image and, importantly, makes your website more accessible to people who use screen readers or who can't see the image.
Think of your filename and alt text as two different things:
Filename: traditional-kitchen-remodel-seattle-01.jpg
Alt text: Traditional kitchen remodel with custom oak cabinetry and marble countertops
Your alt text should describe the image naturally and in the context of the page. And just like your filename, don't stuff it with keywords.
This is what you’ll see in Squarespace when you upload an image. Simply scroll down to “Image Alt Text” and type in your description.
A few things to keep in mind
Optimize every image before you upload it. Whether it's a portfolio image, a blog post photo, or an image on a regular page, getting into the habit of optimizing your files will help keep your website lean and loading quickly.
Keep your original files. Your optimized web images are not replacements for your high-resolution originals. Keep those safely stored somewhere so you have them if you ever need a larger file for print or another purpose.
Don't convert everything to JPEG. JPEG is my go-to format for photographic images because it generally produces a much smaller file than PNG while maintaining excellent visual quality. But if you have a graphic that requires a transparent background—like a logo—keep it as a PNG. A JPEG cannot preserve transparency.
When in doubt, look at the image. After optimizing, open the new file and make sure it still looks sharp. There's no prize for making your file as tiny as possible if you've also made your beautiful photography look terrible.
The quick version
Before adding a new image to your website:
Rename it → Use a short, descriptive, lowercase filename with dashes
Resize it → 1750px wide for most portfolio images
Optimize it → Start with 80% quality
Upload it → Add thoughtful alt text
Keep the original → You'll thank yourself later
It only takes a few extra minutes, but making image optimization part of your regular website workflow can help your site stay fast, organized, accessible, and search-friendly as you continue adding new content.
